Body
Yealink USB Connect software allows us to manage the firmware updates to the Yealink headsets on campus and help remotely troubleshoot headset issues.
Table of Contents
Windows
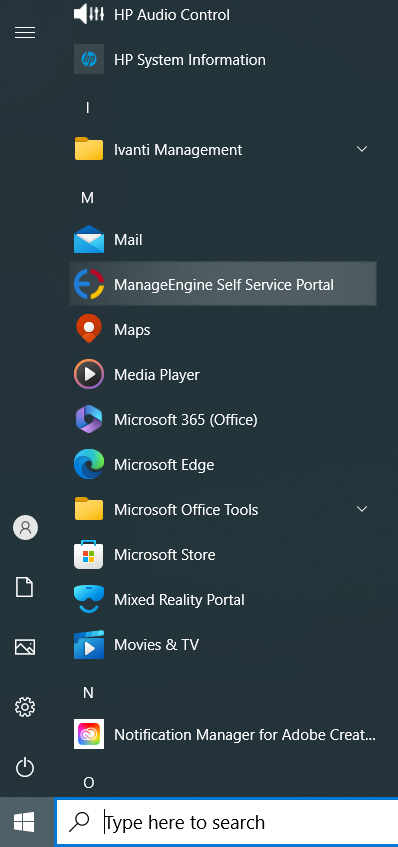
Step one: Go to the start menu and select ManageEngine Self Service Portal.

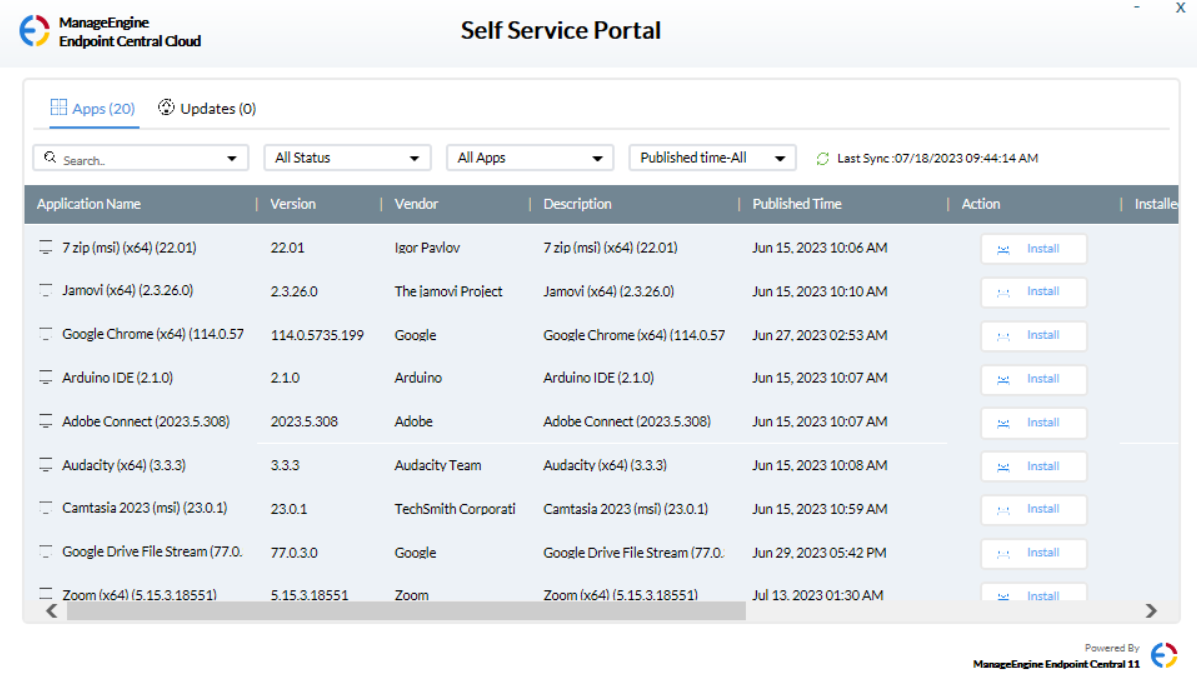
ManageEngine Self-Service Portal should open and show a list of available software to install

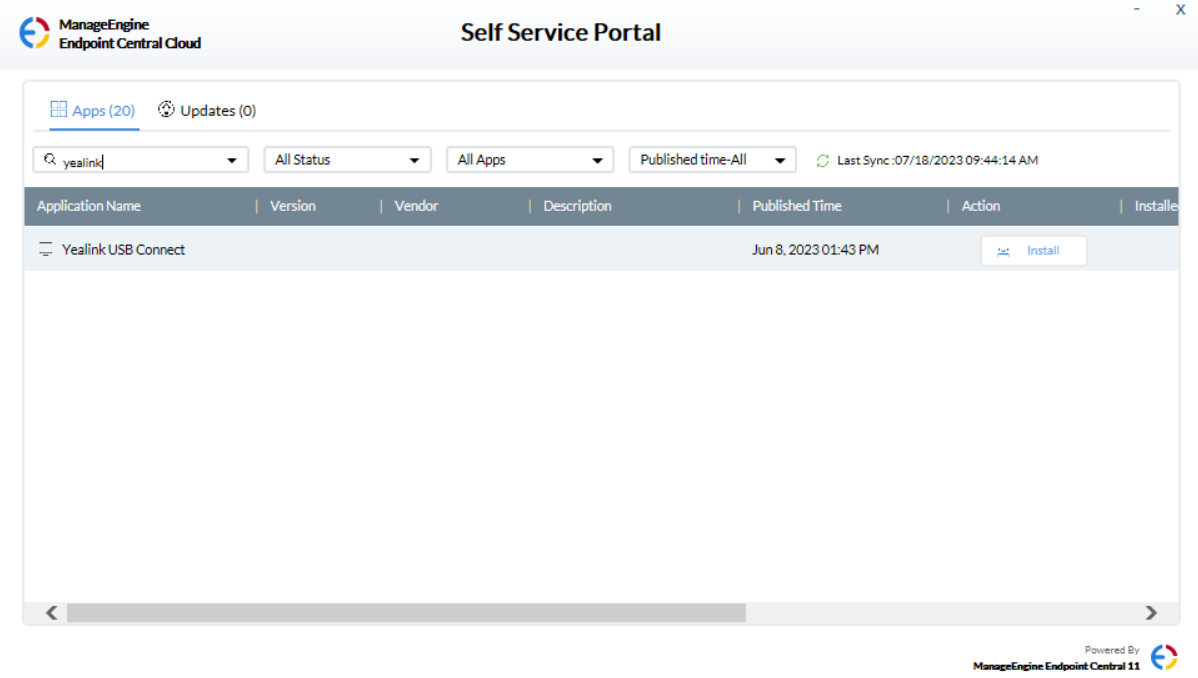
Step two: Type Yealink in the search box.

Step three: Click Install for Yealink USB Connect. Yealink USB Connect should then start installing.

Step four: Yealink Management Cloud should open after installation. If it doesn't automatically launch go to the Start menu and look for Yealink USB Connect and double-click.

In the Yealink Management Cloud window configure:
Local name: This field should auto-populate with your computer's name. Do not change this filed.
Enterprise ID: xozfwdeu
Step five: Once you've entered the Enterprise ID click Connect to Platform.
Note: It's normal for the software to take ten to fifteen minutes to update the hardware on first set-up.
Mac
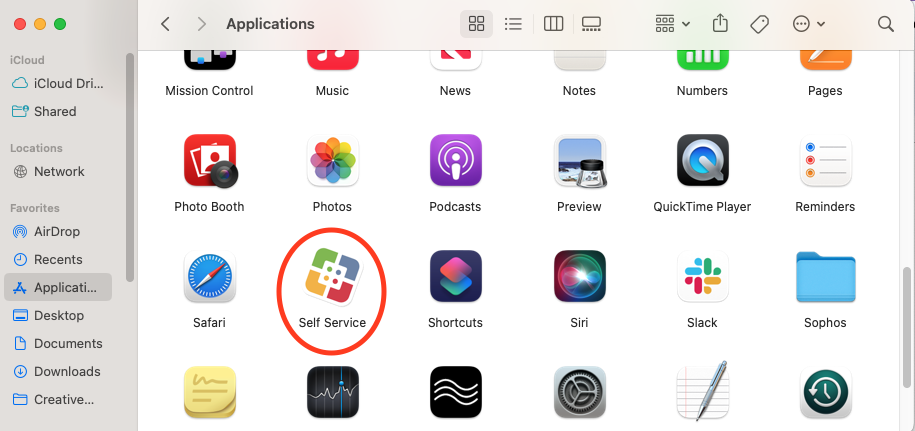
Step one: Launch Self-Service app from the Applications folder on your Mac.

Step two: Search for Yealink and click Install under Yealink USB Connection.

Step three: Click Install again at the next screen.

Step three: If the Yealink USB Connect software if it doesn’t auto-launch, launch it from your Applications folder on your Mac.
It should open to the Yealink Cloud Management screen.

Local name: Your computer name should auto-populate- do not change it.
Connect to platform: This field should auto-populate with Yealink Cloud Management Server- do not change it.
Enterprise ID: xozfwdeu
Step four: Once you've entered the Enterprise ID click Connect to Platform.
Note: It's normal for the software to take ten to fifteen minutes to update the hardware on first set-up.
Additional Help
If you need additional help installing the Yealink USB Connect software place a software install service ticket.