Yealink USB Connect software allows us to manage the firmware updates to the Yealink headsets on campus and help remotely troubleshoot headset issues.
Table of Contents
Windows
Step one: Go to the start menu and select ManageEngine Self Service Portal.
![Start menu open with ManageEngine Self Service Portal highlighted](https://lh4.googleusercontent.com/BZQ0EjuyZXppBGiBxNK85N8Vd5v-l6pdCIDPJQ5mVPLJC9SAJP8JAB0EPcdiL5QirZa1yBBjBDOKQtBbd0gdzj3bfc1SnGY939tW1vu9DLDBINEEFcBAd9ouL66v9UAVL1g3hIEhbGZ4kdpo_rhjBVM)
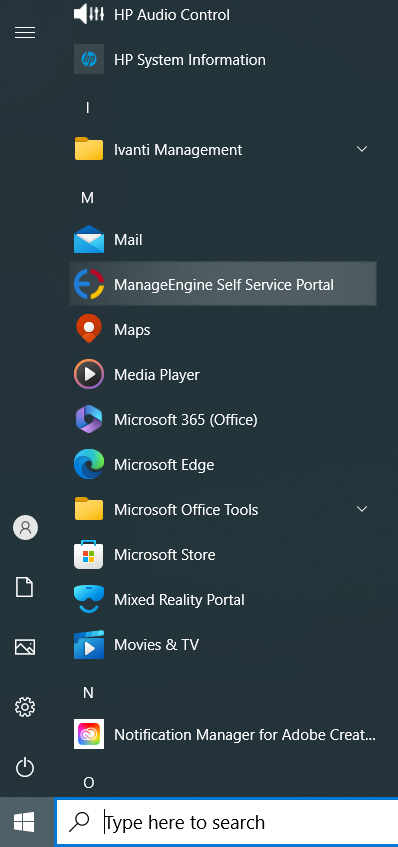
ManageEngine Self-Service Portal should open and show a list of available software to install
![Manage Engine Self Service Portal home screen](https://lh6.googleusercontent.com/JTfiS565RKD08-GFFKCcNwmZJH2uJ_4t_h_2zSmuVJavSEdF2wcXKYGYAav_PyC-UE-B4zAkQtTyzJzHVeMcTRFKEVYofFGyfy7SxSg0P4MBI1XmPOlWO2EfZxJKVrvzh-Gxupt78Go9ZG2yKyd5APc)
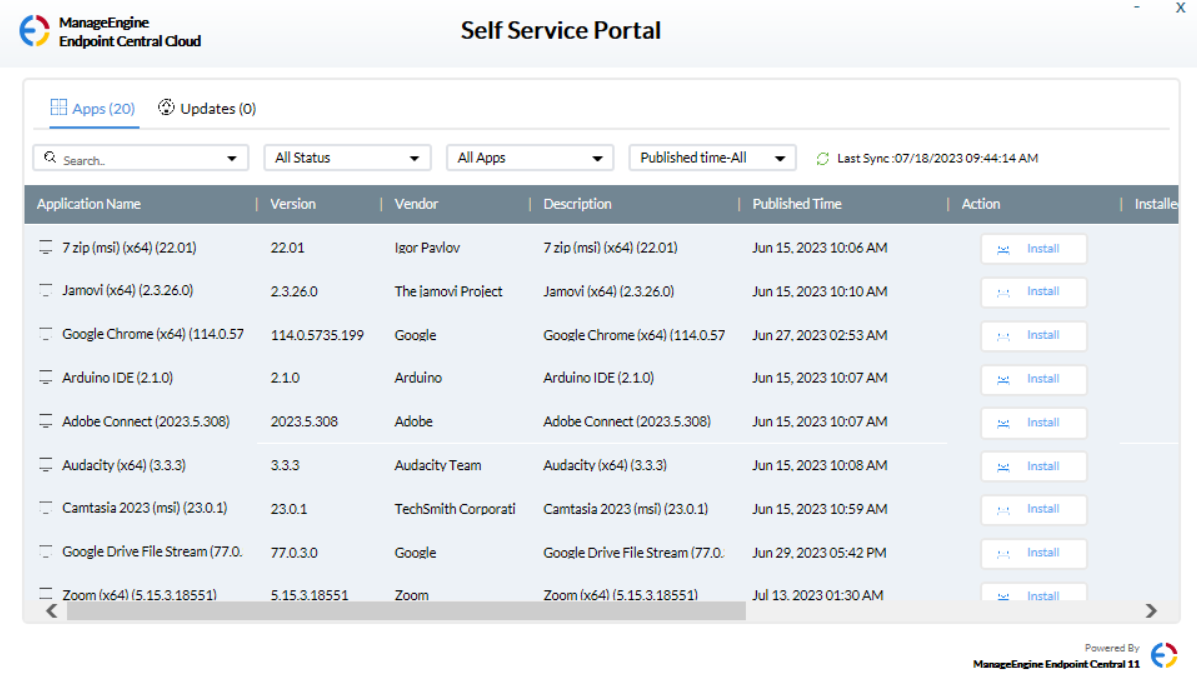
Step two: Type Yealink in the search box.
![Self Service portal shows yealink and install button](https://lh3.googleusercontent.com/rE1pNJw0vuL9Bm4GSAlcXOlbJw2wKPLbAUEPgbCeMfAPW0NA0SnwYA1CHYu43U_Dfe4TEJNG8VC6_4sc6eeN9pm4D-kuWIWYszhcoCfs2WKDw1pbnTUTK4CmVfja41vB3DH80VX7CVHQg5ZSTvxJXvc)
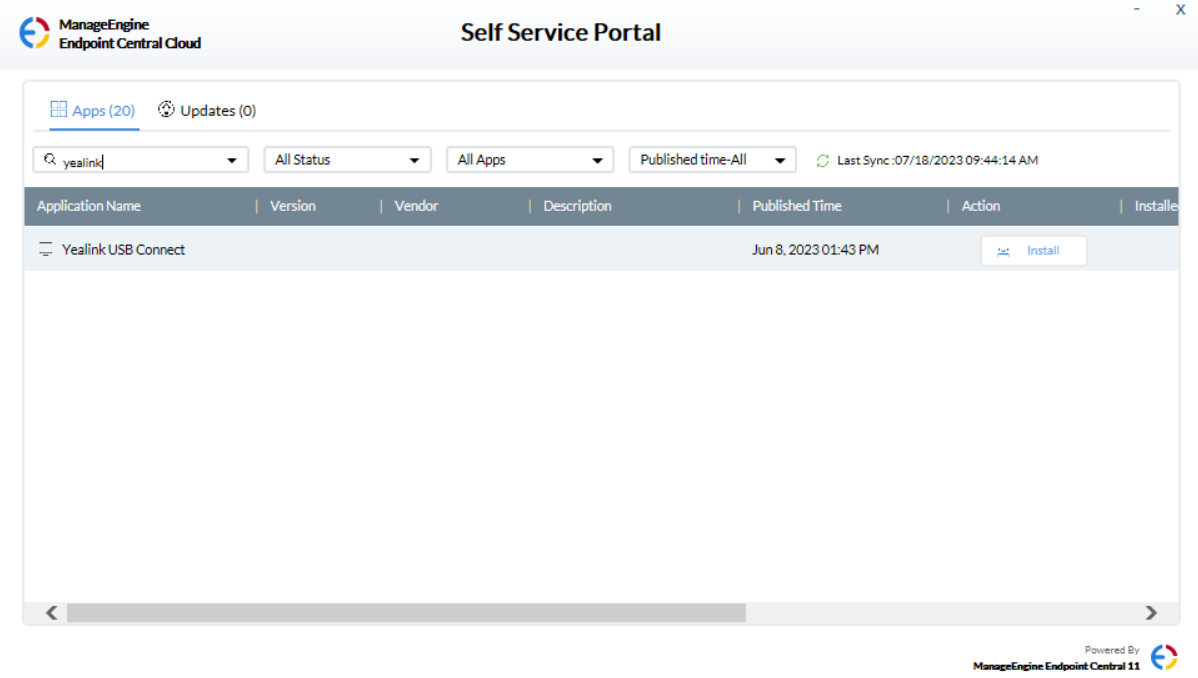
Step three: Click Install for Yealink USB Connect. Yealink USB Connect should then start installing.
![Image shows listing from ManageEngine Self Service portal with it's status as installing](https://lh3.googleusercontent.com/WZAMQ4aCKdV5qAmdJ4XPCFZlRFdvhBqesOV_eH3DNkRE1TLxBZBgMHsG1BTGYj9w8uggmFITaS8jAfFqQEmDHL7FvslZrcqxBw8TQI_Wyls60US--QvFtBpsfq8dAw9RWYL_7iB8EwYjl8n-06Ad6DM)
Step four: Yealink Management Cloud should open after installation. If it doesn't automatically launch go to the Start menu and look for Yealink USB Connect and double-click.
![Yealink Management Cloud window](https://lh3.googleusercontent.com/typ2udHhpHyKYFq18wvXtj8WUwAXglJAWIsFBUG0uNUIcRRuu3ty-pIWeDteqtWs5zAvtdNrFsNu0AcqkkcA6yMC6HyuKfxTfsXZZkX-3h9Iac6CEJeIHZ-MP0CqYyuh6e46Brov9eSaVafIhtMvidI)
In the Yealink Management Cloud window configure:
Local name: This field should auto-populate with your computer's name. Do not change this filed.
Enterprise ID: xozfwdeu
Step five: Once you've entered the Enterprise ID click Connect to Platform.
Note: It's normal for the software to take ten to fifteen minutes to update the hardware on first set-up.
Mac
Step one: Launch Self-Service app from the Applications folder on your Mac.
![Mac applications folder with Self Service icon circled](https://lh4.googleusercontent.com/q7JcoZCYCdMcdDUjZ0-dVTomm-rv7mxS6FYUL7sFH9yjiHuPngC9b4eJWgce2jTrBAgFsBD4yE_Mm0XKTxKN6rjyc8HE96sIxKD_Ni_MVB5kI9QsDTARv2BYX5cVtiiDQcG14xS5WuUAil_ykpRq130)
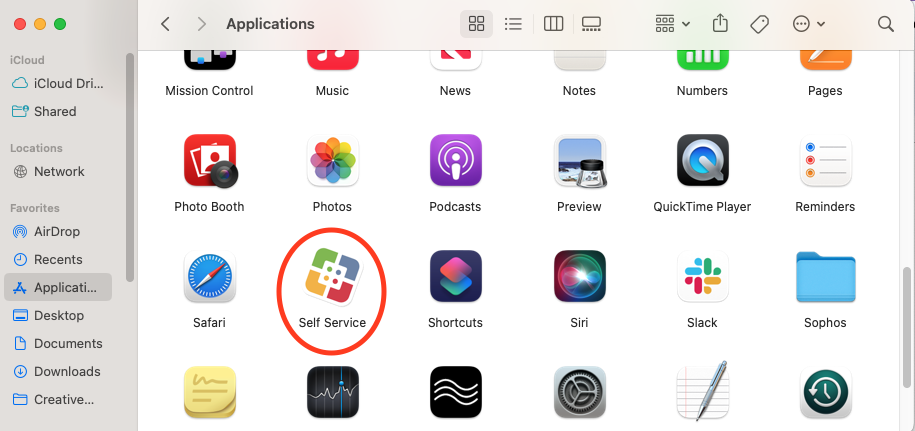
Step two: Search for Yealink and click Install under Yealink USB Connection.
![Self Service search results for Yealink](https://csumb.teamdynamix.com/TDPortal/Images/Viewer?fileName=0d241ddc-1ce6-4b3d-ba56-c2f0796d32d9.png&beidInt=204)
Step three: Click Install again at the next screen.
![Yealink USB Connect install screen.](https://csumb.teamdynamix.com/TDPortal/Images/Viewer?fileName=d7b7847a-66be-4237-b8ef-371ee9f94286.png&beidInt=204)
Step three: If the Yealink USB Connect software if it doesn’t auto-launch, launch it from your Applications folder on your Mac.
It should open to the Yealink Cloud Management screen.
![](https://lh3.googleusercontent.com/9OlEwFVVV9kWbXpn2wrGXltgTQaFi_HpfVJMwMlnZK5K9YVMPPan7Fp-sE5hiKWe-F7p-Dc64VLYCjfbQcW14ZchiUpJtpLD5Yn4uZZUvwpijNGRwPtezPvFBaJze_TRBkhWrFR6DGxivh4vbqLq_4w)
Local name: Your computer name should auto-populate- do not change it.
Connect to platform: This field should auto-populate with Yealink Cloud Management Server- do not change it.
Enterprise ID: xozfwdeu
Step four: Once you've entered the Enterprise ID click Connect to Platform.
Note: It's normal for the software to take ten to fifteen minutes to update the hardware on first set-up.
Additional Help
If you need additional help installing the Yealink USB Connect software place a software install service ticket.